
How to Update Your Bathroom Hardware
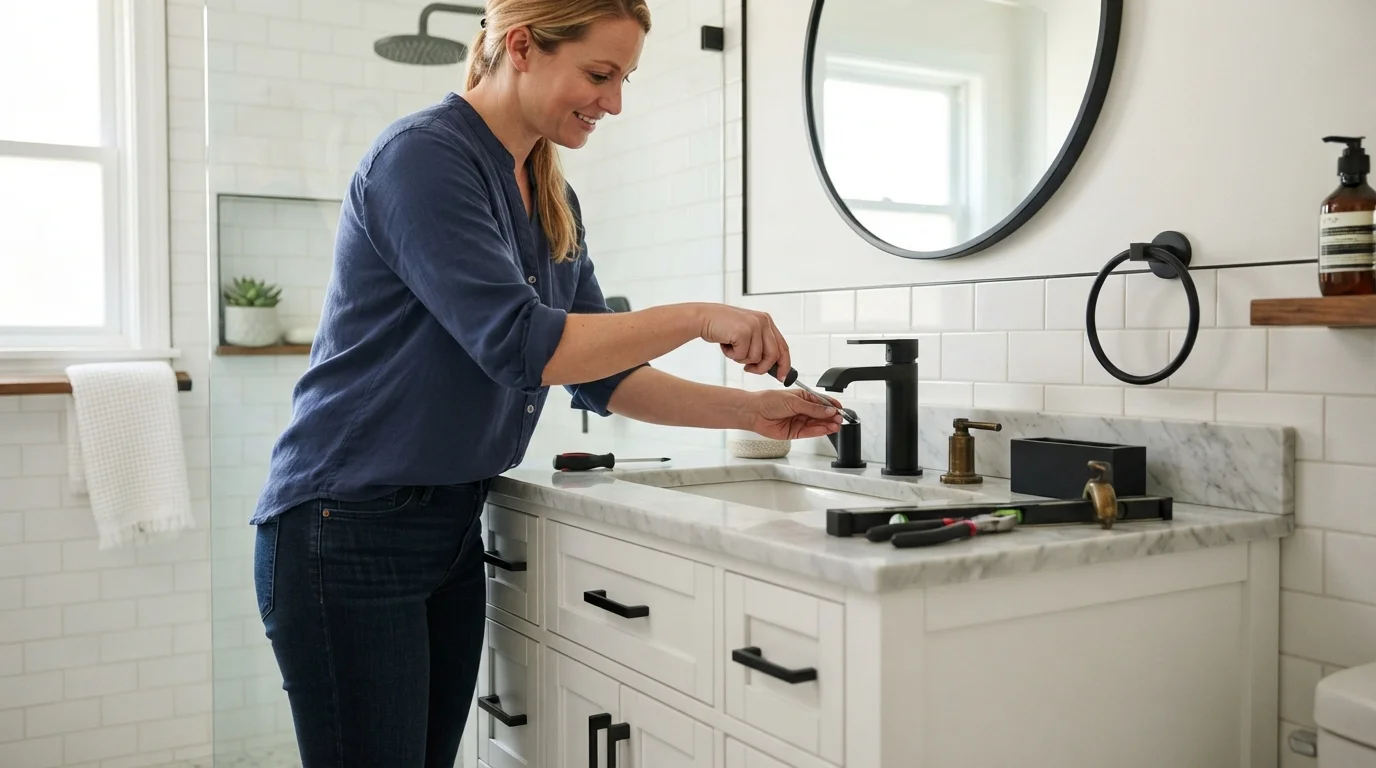
If your bathroom feels a bit tired, the quickest fix isn’t a full renovation—it’s swapping out the hardware. Upgrading your faucets, cabinet pulls, towel bars, and shower fixtures can completely transform the room in a single afternoon.
In fact, a modern bathroom design often starts with these small details. You don’t need a contractor or a massive budget. You just need a clear plan and the right pieces.
In this guide, I’ll walk you through how to update bathroom hardware like a pro. We’ll cover finishes, measurements, installation, and common mistakes to avoid. Let’s dive in.
Why Updating Bathroom Hardware Matters
Hardware is the jewelry of your bathroom. It’s the first thing guests notice when they walk in, even if they don’t realize it. Outdated brass or mismatched finishes instantly date a space.
On the flip side, cohesive hardware makes a bathroom look intentional and expensive. It’s one of the highest-ROI improvements you can make, especially if you’re planning to sell your home.
Plus, it’s a low-risk DIY project. Even if you’re not naturally handy, you can usually swap a towel bar or toilet lever in under 30 minutes.
Choosing the Right Finishes for Your Bathroom
Before you buy anything, decide on a bathroom hardware finish. Your choices should feel cohesive, not random. Stick to one primary finish and one accent (like a matching showerhead and faucet).
Here are the most popular finishes for 2025:
- Brushed Nickel – Timeless, hides fingerprints, works with any color scheme.
- Matte Black – Modern, bold, and creates high contrast against white tiles.
- Chrome – Classic, affordable, and reflective—great for small bathrooms.
- Oil-Rubbed Bronze – Warm, traditional, and perfect for farmhouse styles.
- Polished Brass – Vintage-chic, makes a statement in neutral bathrooms.
If you’re torn, brushed nickel is the safest bet. It blends beautifully with most modern bathroom design themes and ages well.
What Hardware Should You Update?
Don’t try to change everything at once. Focus on the pieces that have the biggest visual impact. A targeted update bathroom hardware plan saves time and money.
Here’s a checklist of high-priority items:
Faucets – The sink faucet is the focal point. Upgrade to a waterfall or tall gooseneck style for instant modernity.
Cabinet Pulls and Knobs – Replace dated brass knobs with sleek bar pulls or round matte black knobs. This alone changes the whole look.
Towel Bars and Hooks – Old plastic or flimsy metal bars scream “rental.” Solid stainless steel or matte black ones add permanence.
Showerhead and Handheld – A rainfall showerhead or a handheld sprayer upgrades your daily routine.
Toilet Lever – Often overlooked. Swap a standard chrome lever for a matching finish to tie the room together.
How to Measure and Choose the Right Sizes
One of the biggest mistakes in any bathroom renovation tips list is buying the wrong size. A faucet that’s too tall won’t fit under a medicine cabinet. A cabinet pull that’s too long sticks out awkwardly.
Key Measurements to Take
| Hardware Type | What to Measure | Standard Size |
|---|---|---|
| Faucet | Center-to-center distance, deck hole diameter | 4” or 8” centerset |
| Cabinet Pulls | Center-to-center screw distance | 3” to 6” for drawers |
| Towel Bar | Wall space between studs or anchors | 18” to 30” |
| Showerhead | Pipe thread size and arm length | 1/2” NPT standard |
Always check the product specs before ordering. Most retailers list “compatible with X centerset” in the description.
Step-by-Step Installation Guide
Ready to actually update bathroom hardware? Follow these steps for a smooth DIY experience.
1. Gather your tools. You’ll typically need a screwdriver, adjustable wrench, plumber’s tape (for faucets), a drill, and a level. Don’t skip the level—crooked towel bars ruin the look.
2. Turn off the water supply. For faucets and showerheads, shut off the valves under the sink or the main water line. This prevents accidental flooding.
3. Remove old hardware. Unscrew existing pulls, bars, and faucets. Some may have hidden set screws. If a screw is stuck, use penetrating oil.
4. Clean the surface. Wipe away toothpaste, soap scum, or rust. A clean surface ensures the new hardware sits flush and looks crisp.
5. Install new hardware. Start with cabinet pulls and knobs—they’re the easiest. Then move to towel bars and finally faucets. Use plumber’s tape on threads to prevent leaks.
6. Check for alignment. Step back and look. Are all pulls parallel? Is the towel bar level? Adjust before tightening completely.
Common Mistakes to Avoid
Even experienced DIYers slip up. Here are pitfalls to dodge during your DIY bathroom update:
- Mixing too many finishes – Stick to two finishes max. Three starts to look chaotic.
- Forgetting the toilet paper holder – It should match the towel bar finish. Don’t leave it chrome while everything else is matte black.
- Buying without measuring – “One size fits all” is a myth. Measure twice, order once.
- Skipping wall anchors – Towel bars need sturdy anchors to support wet towels. Never screw directly into drywall.
Budget-Friendly Tips for a Big Impact
Updating hardware doesn’t have to cost a fortune. With a little strategy, you can achieve a modern bathroom design on a tight budget.
First, only replace what’s visible. You don’t need to change the shower valve trim if the finish still works. Focus on the sink area and cabinet fronts.
Second, shop sale sections at big-box stores or online marketplaces. Many retailers overstock popular finishes like brushed nickel and offer discounts.
Finally, consider spray-painting your existing hardware. Use a high-adhesion primer and a finish-specific spray paint (like Rust-Oleum’s metallic line). It’s not permanent, but it buys you time until you can afford real replacements.
Frequently Asked Questions
Can I update bathroom hardware without replacing the faucet?
Absolutely. Swapping cabinet pulls, towel bars, and the toilet lever gives a fresh look without touching the plumbing.
What is the most popular finish for bathroom hardware in 2025?
Matte black and brushed nickel remain top choices. Matte black is trending for its bold contrast, while brushed nickel offers timeless versatility.
How long does it take to update bathroom hardware?
Most swaps take 2–4 hours total. Faucets and showerheads add extra time if you need to work with plumbing. Plan for a full afternoon.
Do I need a plumber to replace a bathroom faucet?
Not necessarily. Many modern faucets are designed for DIY installation with push-fit connections. Watch a tutorial first. If you see copper pipes that require soldering, call a plumber.
Can I mix different metal finishes in the same bathroom?
Yes, but keep it intentional. For example, use brushed nickel for faucets and matte black for cabinet pulls. Limit yourself to two finishes total.
What tools do I need to install new bathroom hardware?
A standard set includes a screwdriver (Phillips and flathead), an adjustable wrench, a drill with bits, a level, and plumber’s tape. A stud finder helps for towel bars.
How do I remove stubborn old hardware screws?
Apply a penetrating oil like WD-40 and wait 10 minutes. Use a screwdriver with a matching head. If the screw is stripped, try a rubber band between the screw and driver for extra grip.
Is it worth painting old bathroom hardware instead of replacing it?
It’s a good temporary fix. Use metal-specific spray paint and apply thin, even coats. However, painted hardware chips over time. Replace it when your budget allows.
Final Thoughts
Learning how to update bathroom hardware is one of the most rewarding DIY projects. It’s fast, affordable, and makes your bathroom feel brand new.
Start by choosing a finish that matches your style, measure everything carefully, and tackle one area at a time. Even swapping just the cabinet pulls and towel bar makes a dramatic difference.
Remember, small details create big transformations. With the right hardware, your bathroom will look curated, clean, and modern—without a full remodel.
Now go grab that screwdriver and give your bathroom the refresh it deserves.


